Travelers and everyday users are turning to eSIM technology for its convenience, speed, and flexibility. With a simple scan or manual activation, a device connects to a mobile network without a physical card. This shift has made setup easier for people who want fast access to data abroad or at home. Still, the installation process feels unfamiliar to many, especially those switching from traditional SIM cards for the first time.
During trip planning, many users search for the best eSIM for travel as part of their preparation, and understanding how to install an eSIM helps ensure a smooth experience later. This article outlines easy, step-by-step instructions for installing an eSIM on both iPhone and Android, along with tips that make the process even more seamless.
Key Requirements Before Installation
Before beginning installation, a few essentials help ensure a smooth setup. Different devices support eSIM in various ways, so checking a couple of features saves time and avoids interruptions.
Important Pre-Setup Checks
- The device must support eSIM functionality.
- The device should be unlocked.
- A stable internet connection is needed for activation.
- The eSIM QR code or activation details must be ready.
Many modern models come eSIM-ready, so most users can begin installation immediately. Once these quick checks are complete, the setup can move forward without complications.
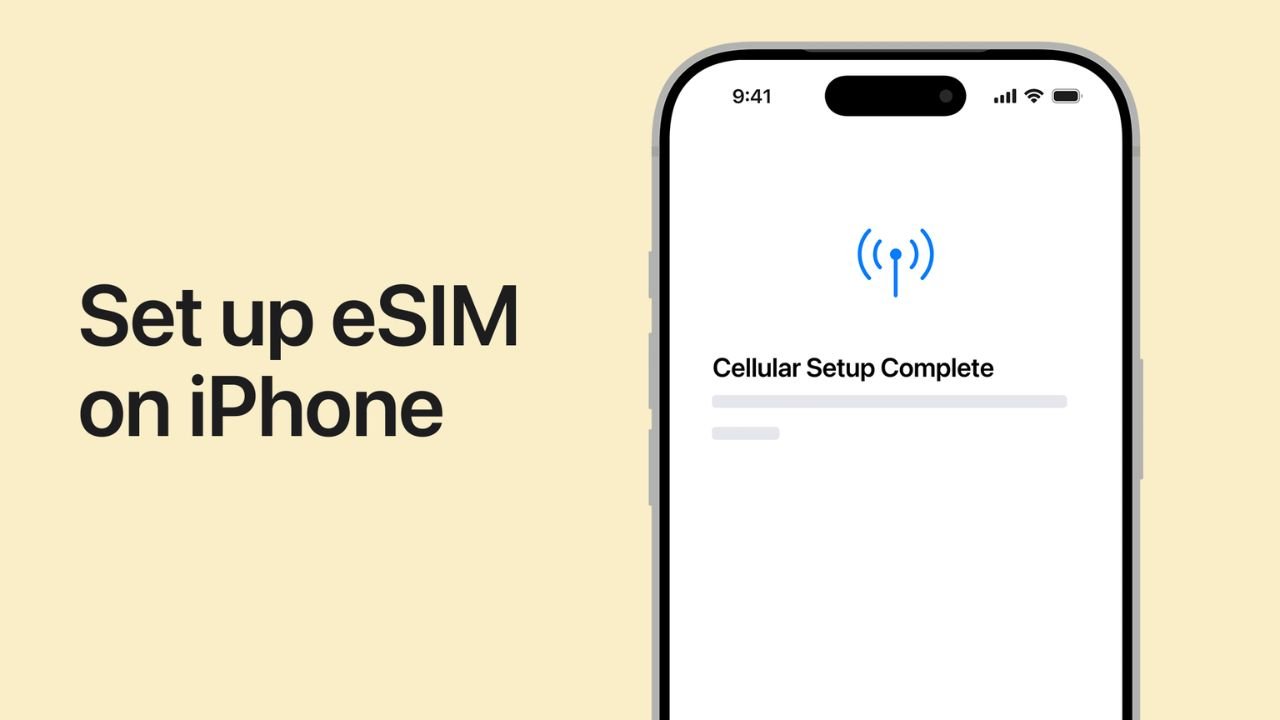
Step-by-Step eSIM Installation on iPhone
Apple devices offer an intuitive installation flow. Depending on the provider, users can activate through a QR code or a manual entry option.
Method 1: Installing with a QR Code
- Open the Settings app.
- Tap Mobile Data or Cellular.
- Select Add eSIM or Add Data Plan.
- Scan the QR code provided by the eSIM service.
- Follow on-screen prompts to confirm.
- Assign labels if needed for easy management.
- Turn on the new line and check for the signal.
iPhones finalize the setup quickly, and the device usually connects to the network in seconds. This method is ideal for most travelers who want fast installation.
Method 2: Installing with Manual Details
- Go to Settings.
- Select Mobile Data or Cellular.
- Tap Add eSIM.
- Choose Enter Details Manually.
- Input the activation code, SM-DP+ address, and other details given by the provider.
- Confirm and wait for network registration.
Manual entry works well when scanning is not available or when users receive text-based activation details.
Step-by-Step eSIM Installation on Android
Android devices include a range of brands, though most follow a similar process. Samsung, Google Pixel, and other modern models support simple installation flows.
Method 1: Installing with a QR Code
- Open Settings.
- Tap Connections or Network & Internet, depending on the device.
- Select SIM Manager or SIMs.
- Tap Add eSIM.
- Choose Scan QR Code.
- Hold the device over the provided code.
- Confirm activation and wait for the profile to load.
Many Android devices activate within moments once the QR code is scanned. The steps may vary slightly, but the process remains straightforward.
Method 2: Installing with Manual Details
- Navigate to Settings.
- Select Connections or Network & Internet.
- Open SIM Manager or SIMs.
- Tap Add eSIM.
- Choose Enter Activation Code.
- Enter the information provided by the service.
- Confirm and allow the device to finalize network setup.
Manual installation is especially helpful when the QR code is unavailable or when switching plans remotely.
Managing Your Newly Installed eSIM
Once an eSIM profile is active, managing it is simple on both iPhone and Android. Users can switch between data lines, enable roaming, or rename their profiles to stay organized.
Useful Management Tips
- Name the profile clearly, such as “Travel” or destination.
- Enable the correct data line before leaving the hotel or airport.
- Check data usage occasionally to stay within plan limits.
- Turn off any unneeded lines for stronger signal prioritization.
These steps help travelers avoid confusion and maintain a smooth data experience abroad. Many modern solutions include dashboards that show usage and allow quick top-ups. Travelers appreciate such features when selecting the best eSIM for travel, as clarity and ease play major roles in daily convenience.
Choosing the Most Practical Installation Method
The ideal method depends on personal preference. QR scanning is faster, while manual entry remains useful for travelers who receive their activation details through email or text. Some providers also allow installation through dedicated apps, offering guided steps for maximum ease.
Travelers who move between multiple regions often appreciate the flexibility of digital SIM profiles. Switching between them is easy, and devices can store several at once. A reliable best eSIM for travel option enhances this flexibility by offering clear activation instructions and helpful tools for management.
Installing an eSIM on iPhone or Android has become a simple, user-friendly process. With a few taps and either a QR code or activation details, travelers gain access to dependable mobile data across destinations. Understanding each installation path and preparing the basic requirements ensures smooth activation. Once set up, the eSIM offers convenience, flexibility, and reliable connectivity for every journey.