
The creation of content has never been so quick as with the help of AI video tools. In minutes, a product demo, a cinematic scene or a social media ad can be created with just a simple prompt. However, many creators hit the exact same brick wall, and all of a sudden, the video isn’t looking right although it actually works fine.
Perhaps a facial expression that flutters just a little bit too far, skin that’s slightly too smooth, a reflection that shines in a way that natural light wouldn’t. All of it isn’t dramatic in itself. All it takes is that combined together to make a viewer’s brain recognize the video as fake, even before they’ve consciously figured out why.
The instinct when this happens is to regenerate the clip and hope the next version comes out cleaner. That’s usually the expensive option. Most of the time, what you’re looking at is a video with a texture problem, and texture problems can be fixed after the fact instead of redone from scratch.
This guide walks through how to spot what’s actually wrong with an AI clip, and how to fix it using Vmake instead of burning more generation credits.
What Makes an AI Video Look Artificial
A handful of specific issues account for almost everything that reads as “off” in AI footage:
Jitter: Very slight movement of a face or object frame by frame. It is most evident around the eyes, mouth and hands as these are the most active parts of the body and also the most difficult to track accurately by the model.
Unrealistic faces: Skin that looks airbrushed, expressions that look fake, or even slight changes in the face between the shots.
Reflection problems: Light reflecting off skin, eyes or surfaces that do not match to other parts of the scene. This is often overly bright, too even or lacking in the location where it should be.
Soft focus: Softening the background, text or fine textures to allow the focus point to be sharp.
Texture inconsistencies: Textures like fabric, hair, or surfaces that appear slightly plastic, or smoothed over more than would be normal on camera.
Once you know what to look for, you’ll start seeing these instantly. That’s actually useful, because it means you can diagnose a clip in seconds instead of guessing why it feels wrong.
How to Improve AI-Generated Videos Using Vmake
Vmake’s Video Enhancer is built around fixing exactly these issues, and it’s worth understanding what each mode actually targets before you use it.
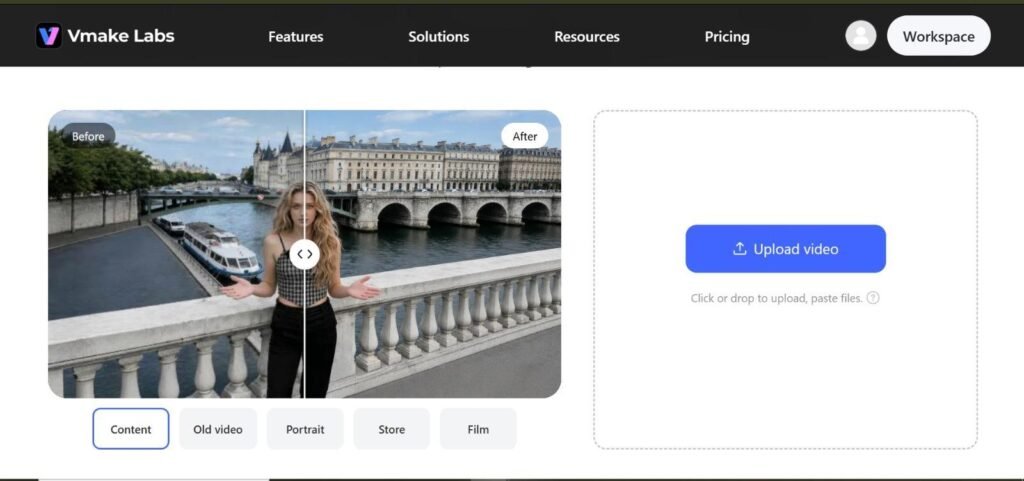
Step 1: Upload Your Clip
Go to the video quality enhancer and upload your video. Drag and drop, click to upload or paste a direct link if the clip is located elsewhere.
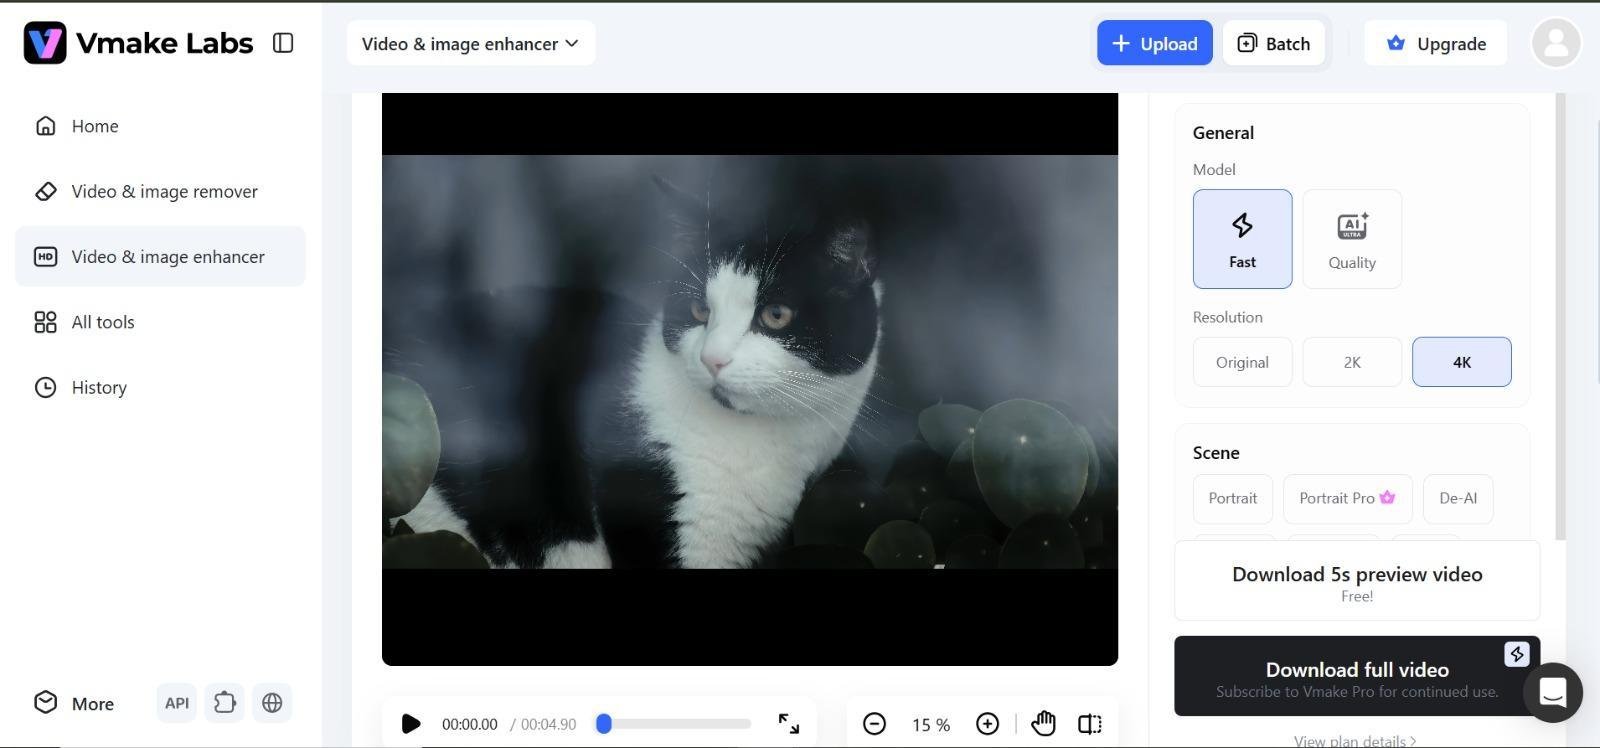
Step 2: Choose the Right Mode
- De-AI Mode: Focuses on particular “AI look”: jitter, too smooth skin, unnatural reflections. This is the mode to reach for first if a clip just feels artificial without one obvious flaw.
- Portrait Mode: Sharpens facial detail and evens out skin texture on talking-head or presenter-style clips.
- Product Mode: Built for e-commerce shots, tightening up texture and edge detail on products specifically.
- AI 4K+: A broader resolution and clarity pass, useful when the whole frame feels soft rather than one specific area.
Step 3: Preview Before Committing
Vmake gives you a short preview of the processed result. If it’s not right, switch modes and reprocess. You’re not locked into the first pass.
Step 4: Download the Finished Version
Once the preview looks right, download and move on to the next step in your workflow.
If you’re processing more than one clip at a time such as a batch of product videos from the same shoot Vmake supports processing up to 30 assets at once, so you’re not repeating these steps one file at a time.
What Other Issues Can Be Fixed Before Publishing
Texture and clarity aren’t the only things worth cleaning up before a video goes live. A few other fixes are worth doing in the same pass:
Removing Watermarks
If your source clip came from another AI generator or was repurposed from existing footage, a leftover watermark is one of the fastest ways to make a video look unfinished. Vmake’s video watermark remover can remove all of these watermarks automatically, including some that move across the frame instead of being in a corner.
Improving Audio
Background hiss, room echo, or wind noise picked up during recording or generation can undercut an otherwise clean video. Vmake’s noise reduction tool strips this out without needing to re-record anything.
Adding Captions
Most viewers watch with sound off first. Running the finished clip through the auto caption generator means it’s ready for that behavior instead of losing viewers in the first few seconds.
Technically finished does not mean ready to publish. Enhancing, removing the watermark, adding captions takes a couple of minutes and produces a clip that is truly ready for publication.
When Should You Enhance Instead of Regenerate
This is the judgment call that can save you money.
Enhance when: The composition is right, the action in the clip is what you wanted, and the problem is purely visual quality.
Examples include: jitter, soft detail, an artificial look. These are texture problems and texture problems are fixable.
Regenerate when: The actual content is wrong. The subject is doing the wrong thing, the framing doesn’t work, or the prompt clearly didn’t land the way you intended. No amount of enhancement fixes a video that’s fundamentally not what you asked for.
Save time by: Running new generations through the enhancer as a standard last step, rather than treating enhancement as a rescue operation only for bad results. Building it into your normal workflow means fewer regenerations overall, since a rough first pass often just needs cleanup rather than a redo.
Conclusion
Most AI videos that look “fake” aren’t failures. They’re one enhancement that passes away from looking finished. Before you spend more credits regenerating a clip, run it through Vmake’s Video Enhancer and see whether the fix is simpler than you think.
Try Vmake’s video quality enhancer and see the difference on your next clip before you regenerate anything.